Mother’s Day Pink Velvet Cake
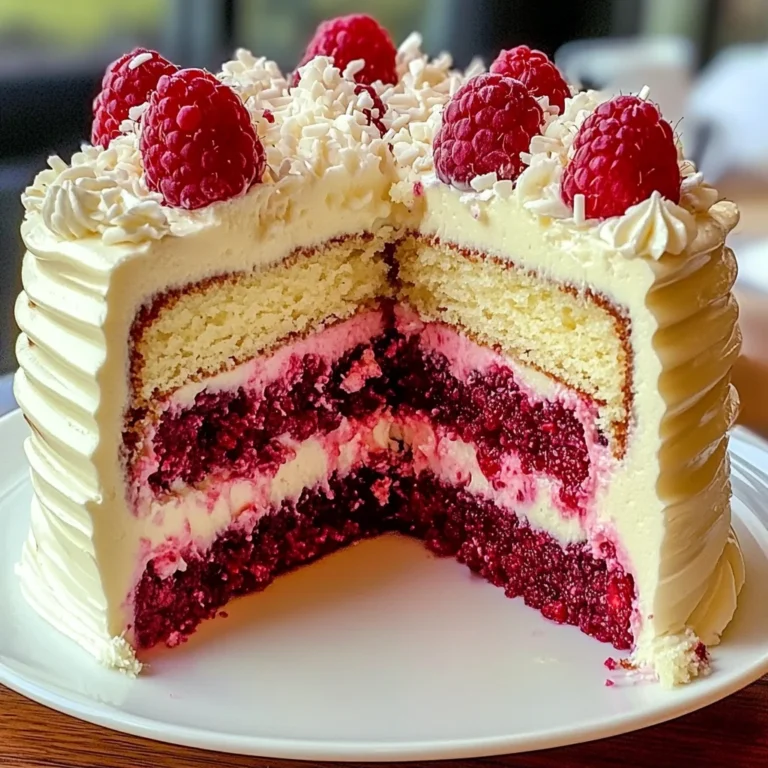
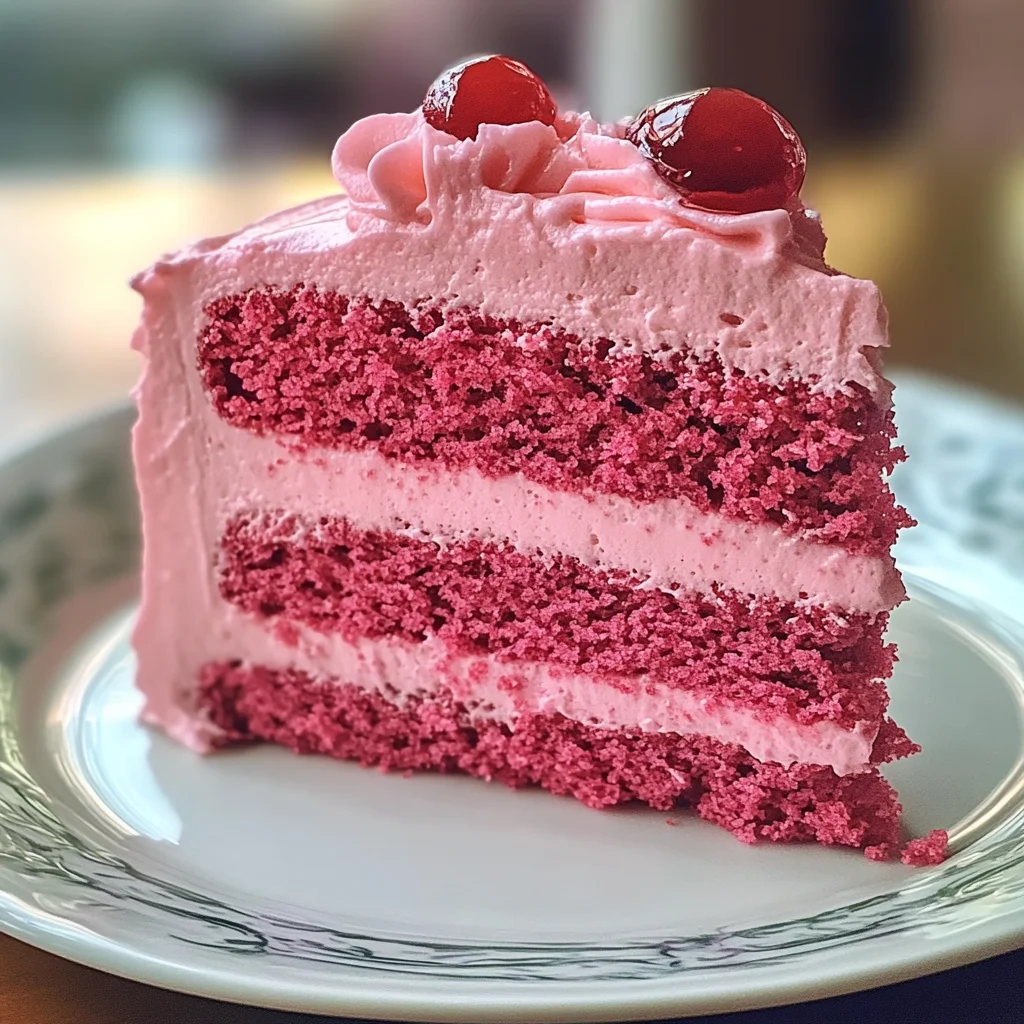
Celebrate the special women in your life with this enchanting Mother’s Day Pink Velvet Cake. If you’re looking for a dessert that combines stunning visuals with delightful flavors, this cake is the perfect choice! Its soft, fluffy layers infused with cocoa and vanilla create a treat that is sure to impress. Whether it’s for Mother’s Day or just a cozy family gathering, baking this cake will fill your home with sweet memories and love.
This recipe is not only charming but incredibly versatile. It’s great for those busy weeknights when you want to whip up something special or for any occasion when you want to show someone you care. You’ll find that everyone will be asking for seconds!
Why You’ll Love This Recipe
- Easy to make: With simple steps and straightforward ingredients, you can bake this cake without any fuss.
- Family-friendly: This delightful cake is sure to bring smiles to the whole family, making it a perfect addition to your dessert table.
- Make-ahead convenience: You can bake the layers in advance and frost them just before serving, allowing you more time to enjoy the occasion.
- Delicious flavor: The combination of cocoa and vanilla makes every bite an irresistible treat that everyone will love.
Ingredients You’ll Need
To create this beautiful Mother’s Day Pink Velvet Cake, you’ll need some simple, wholesome ingredients that bring out the best flavors. Gather these items from your kitchen:
- 2 ½ cups cake flour
- 1 ¾ cups granulated sugar
- ½ cup unsweetened cocoa powder
- 1 tbsp baking powder
- ½ tsp salt
- ¾ cup unsalted butter, softened
- 4 large eggs (room temperature)
- 1 cup buttermilk
- 2 tsp pure vanilla extract
- Red food coloring (to achieve desired pink hue)
- Cream cheese frosting (for topping)
Variations
One of the best things about this Mother’s Day Pink Velvet Cake is its flexibility! You can easily tweak it to suit your taste or dietary needs. Here are some fun ideas:
- Swap the buttermilk: Use yogurt instead of buttermilk for a slightly tangy flavor and extra moisture.
- Add almond extract: A splash of almond extract can elevate the flavor profile and add a lovely aroma.
- Top with fresh fruit: Fresh berries on top can provide a refreshing contrast to the rich cake while adding a pop of color.
- Change the frosting: Try using whipped coconut cream or a different flavored frosting for a unique twist.
How to Make Mother’s Day Pink Velvet Cake
Step 1: Preheat Your Oven
Start by preheating your oven to 350°F (175°C). This step ensures that your cakes bake evenly and rise beautifully. Grease and flour two 9-inch round cake pans so that your cakes slide out easily once they’re done baking.
Step 2: Mix Dry Ingredients
In a bowl, whisk together the cake flour, cocoa powder, baking powder, and salt. Mixing these dry ingredients first helps evenly distribute all the leavening agents throughout the batter, which is key for achieving that light and fluffy texture we all love.
Step 3: Cream Butter and Sugar
In another bowl, cream together the softened butter and granulated sugar until light and fluffy—about three minutes should do it! This process incorporates air into the mixture, resulting in a tender crumb in your cake.
Step 4: Add Eggs
Beat in each egg one at a time, ensuring each one is well incorporated before adding the next. This step helps emulsify the mixture and provides structure to the cake as it bakes.
Step 5: Combine Wet Ingredients
Now it’s time to add in your buttermilk, pure vanilla extract, and red food coloring. Mix until everything is combined; this will create both flavor and color for our beautiful pink velvet layers.
Step 6: Fold in Dry Ingredients
Gradually fold in your dry ingredient mixture until everything is smooth and well combined. Be gentle during this step; overmixing can lead to dense cakes instead of light ones.
Step 7: Bake Your Cakes
Divide your batter evenly between the prepared pans. Bake for about 25-30 minutes or until a toothpick inserted into the center comes out clean. The aroma wafting through your kitchen will be absolutely heavenly!
Step 8: Cool Down
Once baked, allow your cakes to cool in their pans for about ten minutes before transferring them onto wire racks. Cooling completely is important; if they’re still warm when you frost them, you’ll end up with melted frosting!
Step 9: Frost Your Cake
Finally, once cooled completely, generously frost with cream cheese frosting. Enjoy every moment as you decorate—this final touch transforms your lovely pink velvet into an irresistible masterpiece!
With these easy steps, you’ll have created a stunning Mother’s Day Pink Velvet Cake that’s sure to delight anyone lucky enough to share it!
Pro Tips for Making Mother’s Day Pink Velvet Cake
Baking this delightful pink velvet cake is a joy, and a few handy tips can help you achieve perfection!
-
Use room temperature ingredients: Bringing your eggs and buttermilk to room temperature ensures a smoother batter, leading to an even bake and fluffier cake.
-
Don’t overmix the batter: Once you add the dry ingredients, mix just until combined. Overmixing can develop gluten, resulting in a denser cake instead of that light and fluffy texture we aim for.
-
Check for doneness with a toothpick: Baking times may vary based on your oven. Insert a toothpick in the center; if it comes out clean or with a few moist crumbs, your cakes are ready!
-
Cool completely before frosting: Allowing the cakes to cool down completely prevents the frosting from melting. Patience is key here for that perfect finish!
-
Add extra flavor with extracts: For a unique twist, consider adding almond extract or lemon zest to your batter for an extra layer of flavor that complements the cocoa and vanilla beautifully.
How to Serve Mother’s Day Pink Velvet Cake
Presenting your pink velvet cake beautifully will make it all the more special. Here are some ideas to make your serving memorable!
Garnishes
-
Fresh berries: A handful of strawberries or raspberries adds a burst of color and freshness that contrasts perfectly with the rich cake.
-
Mint leaves: A few sprigs of fresh mint not only look stunning but also provide a refreshing aromatic touch when served alongside the cake.
-
Chocolate shavings: Lightly sprinkle some chocolate shavings on top of the frosting for an elegant look that enhances both flavor and presentation.
Side Dishes
-
Vanilla ice cream: A scoop of creamy vanilla ice cream pairs wonderfully with the rich flavors of the cake, providing a delightful temperature contrast.
-
Fruit salad: A vibrant fruit salad made with seasonal fruits adds brightness and freshness to your dessert table, balancing out the sweetness of the cake.
-
Whipped coconut cream: Dairy-free whipped coconut cream is a luscious alternative that complements the cake’s richness while keeping things light.
-
Coffee or tea: Serving a warm cup of coffee or herbal tea alongside slices of pink velvet cake enhances the overall experience, making it perfect for cozy gatherings.
With these tips and serving suggestions, your Mother’s Day Pink Velvet Cake will not only be delicious but also a beautiful centerpiece for celebrating those special moments!
Make Ahead and Storage
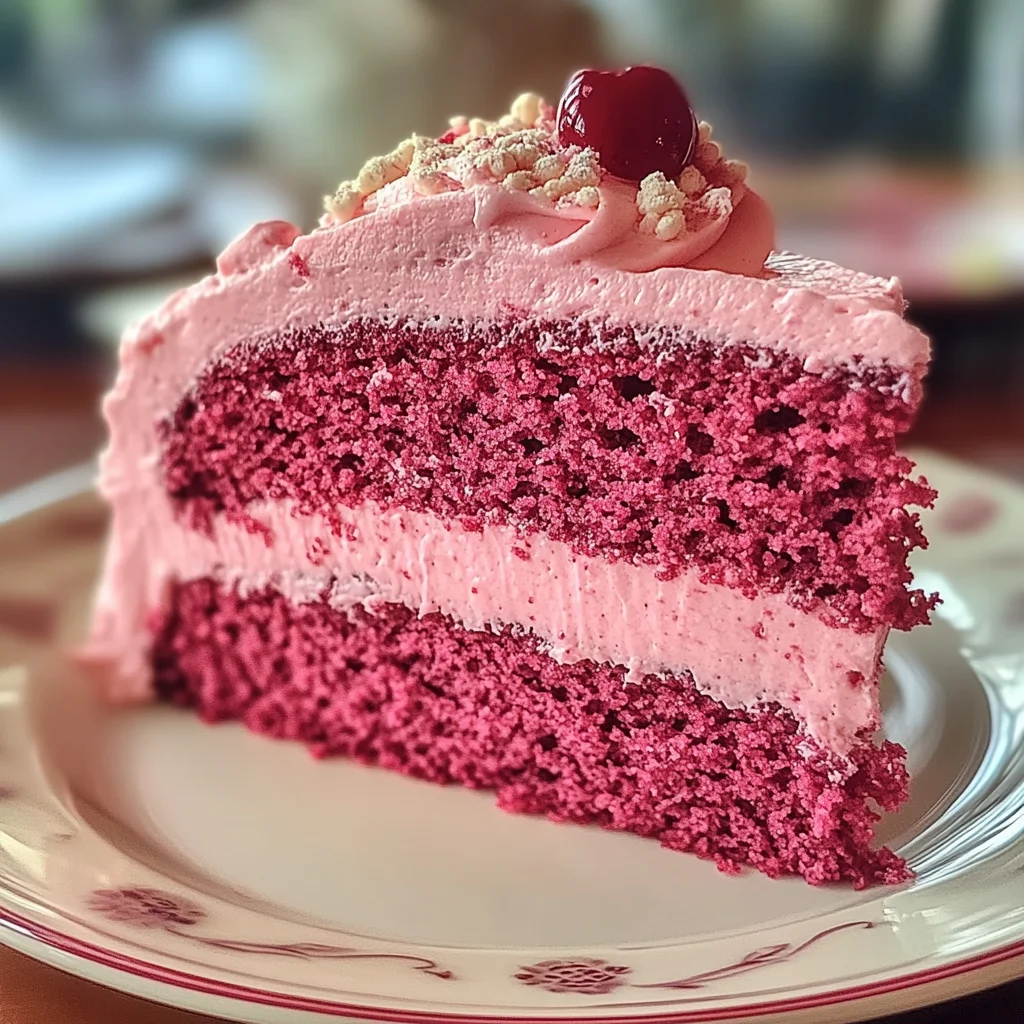
This Mother’s Day Pink Velvet Cake is not only a showstopper but also perfect for meal prep! You can make it ahead of time and store it properly, ensuring that your cake remains fresh and delicious when it’s time to celebrate.
Storing Leftovers
- Wrap any leftover cake slices in plastic wrap or place them in an airtight container.
- Store the cake in the refrigerator for up to 5 days.
- If frosted, keep it in a cool area away from direct sunlight to maintain its texture.
Freezing
- To freeze, allow the cake to cool completely.
- Wrap individual slices tightly in plastic wrap, then place them in a freezer-safe bag or container.
- Label with the date; frozen cake can last up to 3 months.
Reheating
- If you want to enjoy your cake warm, remove from the freezer and let it thaw overnight in the refrigerator.
- For a quick warm-up, microwave a slice for about 10-15 seconds or until just warmed through.
FAQs
Here are some common questions you might have about making this delightful cake!
Can I use yogurt instead of buttermilk in the Mother’s Day Pink Velvet Cake?
Absolutely! Yogurt is an excellent substitute for buttermilk and will still give your cake that beautiful moist texture. Just use the same amount as buttermilk.
How can I achieve a deeper pink color for my Mother’s Day Pink Velvet Cake?
To enhance the pink hue of your cake, simply add more red food coloring gradually until you reach your desired shade. Remember to mix well after each addition!
What is the best way to frost my Mother’s Day Pink Velvet Cake?
The best way to frost your cake is to use cream cheese frosting once the layers are completely cooled. For a smooth finish, apply a thin layer first (crumb coat) and chill before adding a final thicker layer.
Can I decorate this cake with fresh fruit?
Yes! Fresh fruit toppings like strawberries or raspberries complement the rich flavors of the Mother’s Day Pink Velvet Cake beautifully while adding a refreshing touch.
How long can I keep leftovers of my Mother’s Day Pink Velvet Cake?
Leftover slices can be stored in the refrigerator for up to 5 days. Just make sure they are wrapped well or placed in an airtight container!
Final Thoughts
I hope you find joy in baking this Mother’s Day Pink Velvet Cake as much as I do! It’s not just a dessert; it’s a celebration of love, memories, and sweet moments shared with those special women in our lives. Whether you’re making this for Mother’s Day or just because, I invite you to dive into this delightful recipe and share the love. Happy baking!
Mother’s Day Pink Velvet Cake
Celebrate the special moments in life with this delightful Mother’s Day Pink Velvet Cake. This enchanting dessert features soft, fluffy layers infused with cocoa and vanilla, topped with a creamy frosting that makes it a perfect treat for any occasion. Whether you’re honoring a loved one or simply indulging your sweet tooth, this cake is sure to impress and create lasting memories. Easy to make and versatile, you can customize it to suit your taste. With every bite, you’ll experience the joy and love baked right into this charming dessert.
- Prep Time: 20 minutes
- Cook Time: 30 minutes
- Total Time: 50 minutes
- Yield: Approximately 12 servings 1x
- Category: Dessert
- Method: Baking
- Cuisine: American
Ingredients
- 2 ½ cups cake flour
- 1 ¾ cups granulated sugar
- ½ cup unsweetened cocoa powder
- 1 tbsp baking powder
- ½ tsp salt
- ¾ cup unsalted butter, softened
- 4 large eggs (room temperature)
- 1 cup yogurt
- 2 tsp pure vanilla extract
- Red food coloring (to achieve desired pink hue)
- Cream cheese frosting (for topping)
Instructions
- Preheat your oven to 350°F (175°C). Grease and flour two 9-inch round cake pans.
- In a bowl, whisk together cake flour, cocoa powder, baking powder, and salt.
- In another bowl, cream softened butter and granulated sugar until light and fluffy.
- Beat in eggs one at a time until fully incorporated.
- Add yogurt, vanilla extract, and red food coloring; mix until combined.
- Gradually fold in the dry ingredients until smooth.
- Divide batter between prepared pans and bake for 25-30 minutes or until a toothpick comes out clean.
- Allow cakes to cool for about ten minutes before transferring to wire racks to cool completely.
- Frost with cream cheese frosting once cooled.
Nutrition
- Serving Size: 1 slice (100g)
- Calories: 370
- Sugar: 40g
- Sodium: 260mg
- Fat: 18g
- Saturated Fat: 10g
- Unsaturated Fat: 7g
- Trans Fat: 0g
- Carbohydrates: 50g
- Fiber: 1g
- Protein: 5g
- Cholesterol: 80mg


