Cowboy Caviar
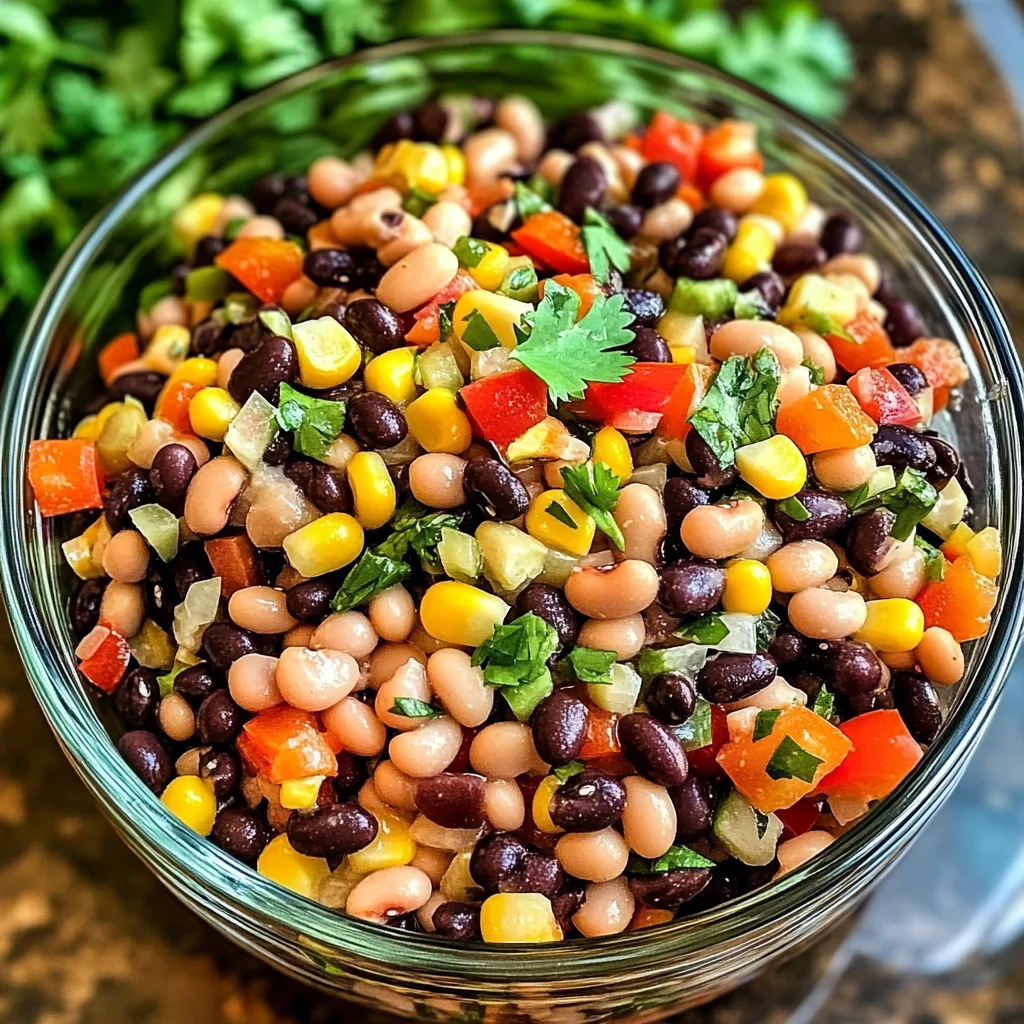
If you’re looking for a vibrant and tasty dip that’s sure to impress, look no further than this Cowboy Caviar! This delightful mix of beans, corn, and fresh veggies is more than just a snack; it’s a celebration in a bowl. Perfect for family gatherings, game day parties, or even a cozy movie night at home, this recipe brings everyone together with its colorful ingredients and zesty flavors. Plus, it’s super easy to whip up—making it a go-to favorite in my kitchen!
What I love most about Cowboy Caviar is how versatile it is. Whether you serve it with tortilla chips or as a topping for tacos, it’s always a hit. The best part? You can make it ahead of time and let the flavors meld in the fridge. Trust me, your taste buds will thank you!
Why You’ll Love This Recipe
- Quick to prepare: In just 10 minutes, you can have this delicious dip ready to go.
- Nutritious and hearty: Packed with fiber and protein from the beans, it’s as healthy as it is tasty.
- Family-friendly: With its colorful presentation and delightful crunch, kids and adults alike will enjoy it.
- Make-ahead friendly: Prepare it in advance for busy weeknights or entertaining guests without stress.
Ingredients You’ll Need
Gathering simple and wholesome ingredients is part of the fun! This recipe uses everyday items that are easy to find at your local grocery store. Here’s what you’ll need to make your own Cowboy Caviar:
For the Base
- 15.5 oz. black beans, drained and rinsed
- 15.5 oz. black-eyed peas, drained and rinsed
- 15 oz. sweet corn, drained
For the Fresh Mix-Ins
- 1 cup fresh cilantro, chopped
- ½ cup red bell pepper, diced
- ½ cup orange bell pepper, diced
- ½ cup red onion, diced
For the Dressing
- 1 tsp. chili powder
- ½ tsp. kosher salt
- ¼ cup granulated sugar
- ½ cup olive oil
- ⅓ cup white apple cider vinegar
- 1 tbsp. fresh lime juice
- ¼ tsp. garlic powder
Variations
One of the best things about Cowboy Caviar is how customizable it is! Feel free to get creative with these variations:
- Add some heat: Toss in some diced jalapeños for an extra kick!
- Try different beans: Use pinto or kidney beans if you prefer something different.
- Incorporate fruits: Add diced avocado or mango for a sweet twist.
- Make it creamy: Stir in some avocado or Greek yogurt for added creaminess.
How to Make Cowboy Caviar
Step 1: Prepare the Beans and Corn
Start by preparing your black beans, black-eyed peas, and corn. Drain them well and give them a rinse under cold water—this helps remove excess sodium from canned goods and keeps your dip fresh!
Step 2: Combine the Veggies
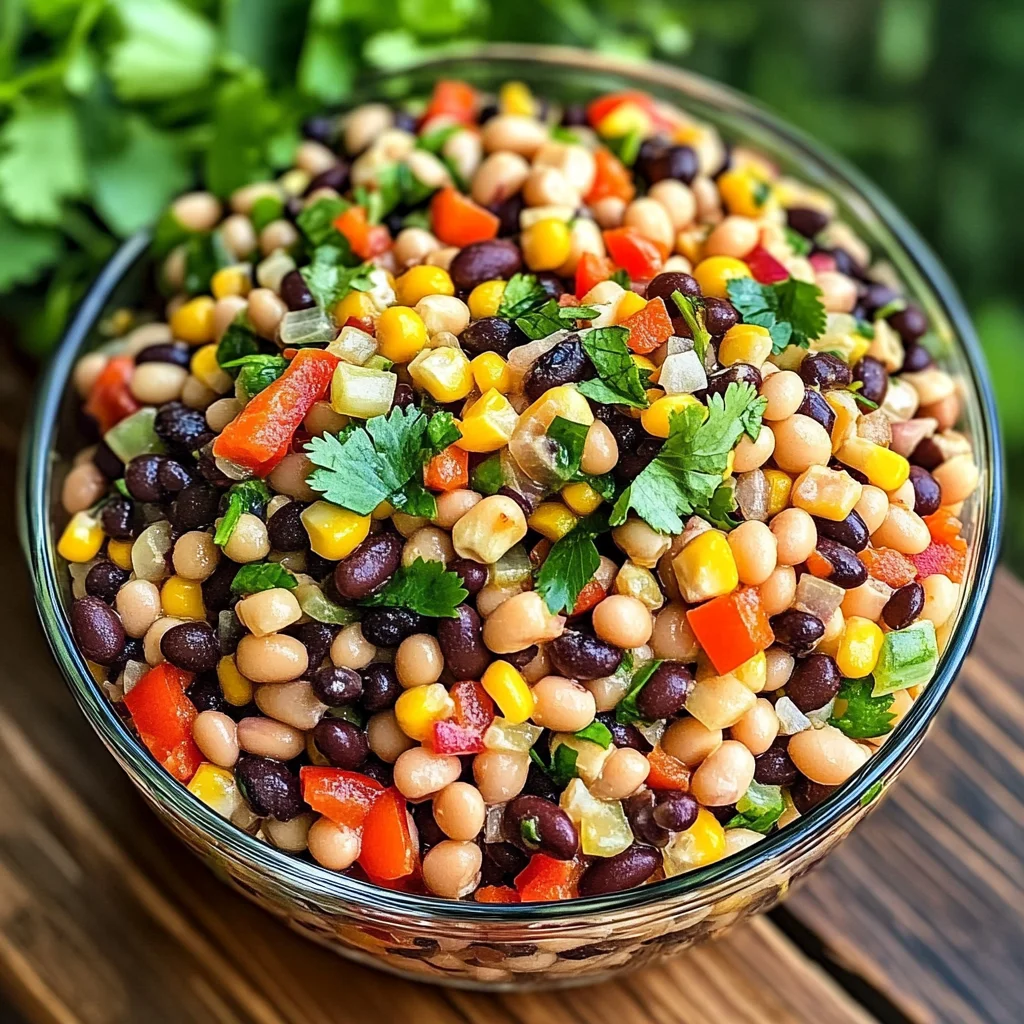
In a large mixing bowl, combine the rinsed beans and corn with chopped cilantro, red bell pepper, orange bell pepper, and red onion. This colorful mix not only looks amazing but also packs in lots of nutrients!
Step 3: Whisk Together the Dressing
In a separate bowl, whisk together chili powder, kosher salt, granulated sugar, olive oil, white apple cider vinegar, fresh lime juice, and garlic powder until smooth. This dressing adds that zesty flavor that makes Cowboy Caviar truly special.
Step 4: Mix Everything Together
Pour the dressing over the bean and vegetable mixture. Gently stir until everything is evenly coated—this ensures every bite bursts with flavor!
Step 5: Chill Before Serving
For best results, refrigerate your Cowboy Caviar for at least 30 minutes before serving. This allows all those wonderful flavors to meld together beautifully.
Enjoy your homemade Cowboy Caviar with friends and family! It’s sure to be a crowd-pleaser every time!
Pro Tips for Making Cowboy Caviar
Making Cowboy Caviar is a breeze, but here are some handy tips to ensure your dish shines at any gathering!
- Use fresh ingredients – Fresh veggies and herbs will elevate the flavor of your dip and provide a vibrant color that appeals to the eye.
- Adjust the spice level – If you prefer a kick, consider adding diced jalapeño or an extra sprinkle of chili powder. This allows you to customize the heat according to your taste.
- Let it chill – Allowing the Cowboy Caviar to sit in the fridge for at least 30 minutes not only enhances the flavors but also helps the ingredients meld together beautifully.
- Double the recipe – This dip is always a hit! Double your ingredients if you’re serving a larger crowd, ensuring no one goes home hungry.
- Experiment with beans – Feel free to mix in other legumes like kidney beans or chickpeas for added texture and flavor variation.
How to Serve Cowboy Caviar
This colorful dip is perfect for sharing and can be served in various creative ways that will impress your guests. Here are some fun ideas on how to present Cowboy Caviar.
Garnishes
- Avocado slices – Adding creamy avocado slices on top adds richness and balances out the zesty flavors.
- Chopped green onions – A sprinkle of fresh green onions will add a bit of crunch and a mild onion flavor that complements the dip perfectly.
Side Dishes
- Tortilla chips – A classic pairing, crispy tortilla chips provide a satisfying crunch and are perfect for scooping up all that deliciousness.
- Veggie sticks – Serve with carrot, cucumber, or celery sticks for a healthy alternative that’s both refreshing and crunchy.
- Pita bread or pita chips – Soft pita rounds or crispy pita chips make for an excellent vehicle for this flavorful dip, giving it an interesting twist.
- Rice or quinoa bowls – Use this Cowboy Caviar as a topping on rice or quinoa bowls for a filling meal that’s packed with nutrients.
With these tips and serving ideas, your Cowboy Caviar will surely be a crowd-pleaser at any event! Enjoy every colorful bite!
Make Ahead and Storage
This Cowboy Caviar is not only vibrant and delicious but also perfect for meal prep! You can easily whip up a batch in advance, making it an ideal choice for parties or quick snacks throughout the week.
Storing Leftovers
- Store any leftovers in an airtight container in the refrigerator.
- Consume within 3-5 days for the best taste and texture.
- If you notice excess liquid, simply drain it before serving to keep the caviar fresh.
Freezing
- While this dish is best enjoyed fresh, you can freeze it for longer storage.
- Portion it into freezer-safe containers or bags, leaving some space for expansion.
- Label and date each container; use within 2-3 months for optimal flavor.
Reheating
- Generally, Cowboy Caviar is served cold and does not require reheating.
- If frozen, thaw it overnight in the refrigerator before serving.
- Give it a good stir to redistribute the flavors once thawed.
FAQs
Here are some common questions that might come up while making your Cowboy Caviar.
Can I customize my Cowboy Caviar?
Absolutely! Feel free to add or substitute any of your favorite ingredients like avocados or jalapeños for extra kick. The beauty of Cowboy Caviar lies in its versatility!
How long does Cowboy Caviar last in the fridge?
When stored properly, Cowboy Caviar can last up to 3-5 days in the refrigerator. Just remember to use an airtight container to keep it fresh!
What do I serve with Cowboy Caviar?
Cowboy Caviar pairs beautifully with tortilla chips, pita bread, or even as a topping on tacos or salads. The possibilities are endless!
Is Cowboy Caviar a healthy snack option?
Yes! Loaded with beans, corn, and fresh vegetables, this dish is packed with protein and fiber while being low in fat—making it a nutritious snack choice.
Final Thoughts
I hope this Cowboy Caviar recipe brings some excitement to your kitchen! It’s not just a tasty dip; it’s a celebration of colors and flavors that everyone will enjoy. Whether you’re hosting friends or simply craving a zesty snack, this recipe is sure to please. Enjoy making it as much as I do!
Cowboy Caviar
Cowboy Caviar is a vibrant and flavorful dip that brings a burst of color and taste to your table. This delightful mix of black beans, black-eyed peas, sweet corn, and fresh veggies creates a nutritious party appetizer that’s perfect for any occasion. Whether you’re hosting a game day gathering or enjoying a cozy night in with family, this zesty bean salsa is sure to impress. It’s quick to prepare, easy to customize, and can even be made ahead of time for ultimate convenience. Serve it with tortilla chips or as a topping on tacos for an unforgettable culinary experience!
- Prep Time: 10 minutes
- Cook Time: 0 minutes
- Total Time: 10 minutes
- Yield: Serves approximately 6
- Category: Appetizer
- Method: No-Cook
- Cuisine: Tex-Mex
Ingredients
- 15.5 oz. black beans, drained and rinsed
- 15.5 oz. black-eyed peas, drained and rinsed
- 15 oz. sweet corn, drained
- 1 cup fresh cilantro, chopped
- ½ cup red bell pepper, diced
- ½ cup orange bell pepper, diced
- ½ cup red onion, diced
- 1 tsp. chili powder
- ½ tsp. kosher salt
- ¼ cup granulated sugar
- ½ cup olive oil
- ⅓ cup white apple cider vinegar
- 1 tbsp. fresh lime juice
- ¼ tsp. garlic powder
Instructions
- Drain and rinse the black beans, black-eyed peas, and corn under cold water.
- In a large bowl, combine the rinsed beans and corn with chopped cilantro, diced red and orange bell peppers, and diced red onion.
- In a separate bowl, whisk together chili powder, salt, sugar, olive oil, apple cider vinegar, lime juice, and garlic powder until smooth.
- Pour the dressing over the bean and vegetable mixture; gently stir until everything is evenly coated.
- Refrigerate for at least 30 minutes before serving to allow flavors to meld.
Nutrition
- Serving Size: 120g
- Calories: 140
- Sugar: 5g
- Sodium: 150mg
- Fat: 7g
- Saturated Fat: 1g
- Unsaturated Fat: 6g
- Trans Fat: 0g
- Carbohydrates: 18g
- Fiber: 5g
- Protein: 4g
- Cholesterol: 0mg