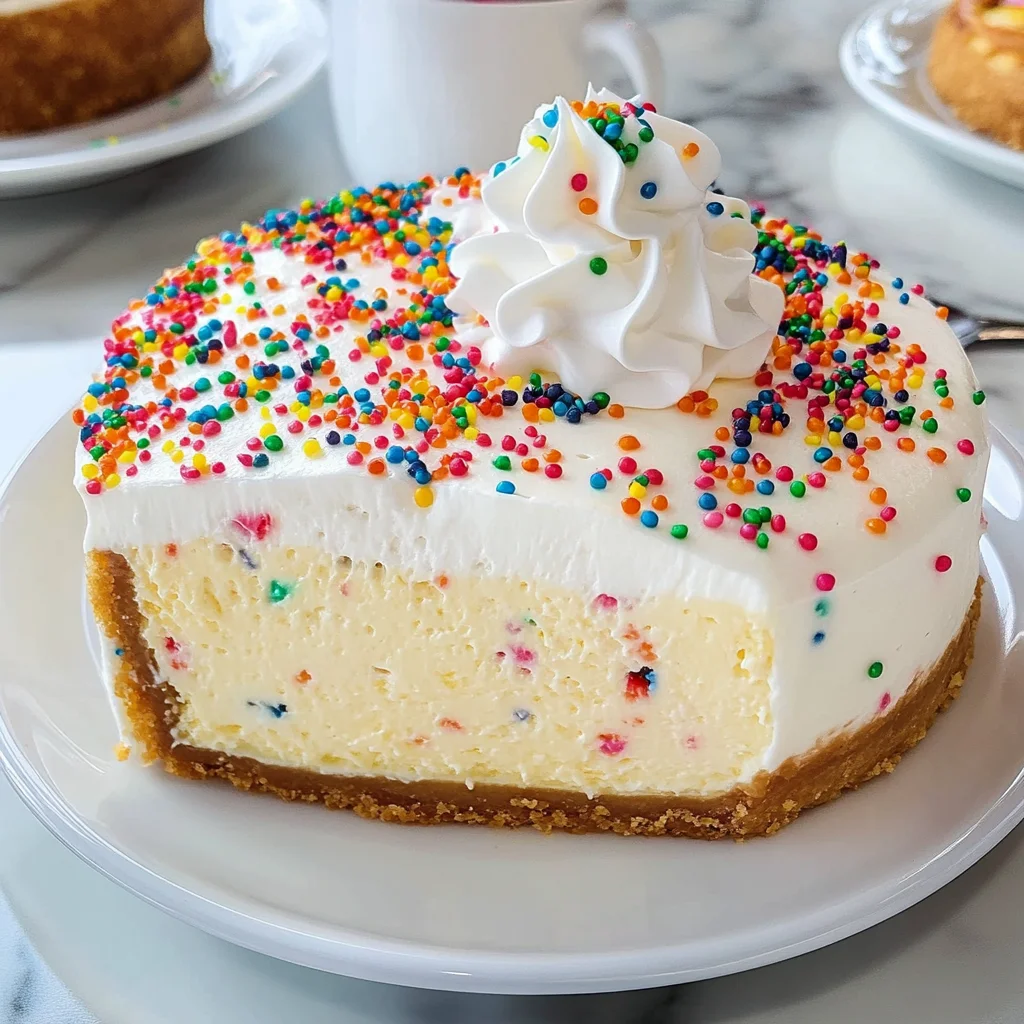
Birthday Cheesecake
If you’re looking for a show-stopping dessert that will make everyone smile, this Birthday Cheesecake is just what you need! It’s a fantastic way to celebrate any occasion, whether it’s a birthday party, a family gathering, or even a cozy weeknight treat. The creamy texture paired with vibrant rainbow jimmies makes it not only delicious but also visually stunning. Plus, it’s so easy to whip up that you’ll find yourself making it again and again!
This recipe has quickly become one of my favorites because of how rich and satisfying it is. There’s something incredibly special about serving a cheesecake that looks as good as it tastes. Trust me, everyone will be asking for seconds!
Why You’ll Love This Recipe
- Easy to prepare: With just a few simple steps, you can create a dessert that looks like it came from a bakery!
- Family-friendly appeal: Kids and adults alike will love the creamy texture and colorful sprinkles.
- Make-ahead convenience: You can prepare this cheesecake in advance, leaving you more time to enjoy the celebration.
- Delicious flavor: Every bite is filled with the rich taste of cream cheese and buttery crust—pure heaven!
Ingredients You’ll Need
These are simple, wholesome ingredients that come together to create a delightful cheesecake. Let’s gather everything we need!
For the Crust:
- 1 ½ cups (126 g) graham cracker crumbs
- 2 tablespoons granulated sugar
- ⅓ cup unsalted butter, melted
For the Cheesecake Filling:
- 4 packages (8 ounces each) cream cheese, softened
- 1 ¼ cups (250 g) granulated sugar
- ½ cup (115 g) sour cream
- 2 teaspoons vanilla extract
- 5 large eggs, room temperature
- ½ cup rainbow jimmies (or sprinkles)
For Topping:
- 6-8 ounces whipped cream
Variations
One of the best things about this Birthday Cheesecake is how flexible it is! You can easily customize it to fit your taste or occasion.
- Add a fruit swirl: Incorporate raspberry or strawberry puree for a fruity twist.
- Try different toppings: Use chocolate ganache or fresh fruit on top instead of whipped cream.
- Change the crust: Swap out graham crackers for crushed Oreos or cookie crumbs for added flavor.
- Mix in flavors: Add lemon zest or almond extract for an extra layer of taste.
How to Make Birthday Cheesecake
Step 1: Preheat Your Oven
Preheat your oven to 350°F. This ensures that your cheesecake bakes evenly and sets perfectly.
Step 2: Prepare the Crust
In a medium bowl, mix the graham cracker crumbs, granulated sugar, and melted butter until well combined. This mixture should look like wet sand. Press it into the bottom of a springform pan firmly; this helps create a sturdy crust that holds together well.
Step 3: Make the Cheesecake Filling
In another bowl, beat the softened cream cheese until smooth. Gradually add in the granulated sugar and mix until fluffy. Then add in sour cream and vanilla extract, blending well. Finally, add the eggs one at a time while mixing gently; this helps keep your filling creamy without introducing too much air.
Step 4: Add Rainbow Jimmies
Once your filling is ready, fold in those colorful rainbow jimmies! This step adds both fun and festivity to your cheesecake—perfect for birthdays!
Step 5: Bake Your Cheesecake
Pour the filling over your prepared crust and spread it evenly. Bake in your preheated oven for about an hour or until set around the edges but still slightly jiggly in the center. This slight jiggle will firm up as it cools.
Step 6: Cool and Serve
Let your cheesecake cool at room temperature before refrigerating for at least four hours (overnight is best!). When ready to serve, top with whipped cream and additional sprinkles if desired.
Enjoy every slice—you’ve made something truly special!
Pro Tips for Making Birthday Cheesecake
Making the perfect Birthday Cheesecake is all about attention to detail and a little love! Here are some handy tips to ensure your cheesecake turns out just right.
-
Use room temperature ingredients: Allowing your cream cheese, eggs, and sour cream to come to room temperature helps create a smooth batter that mixes evenly, preventing lumps in your cheesecake.
-
Avoid overmixing: While it’s important to mix until smooth, overmixing can incorporate too much air into the batter, leading to cracks during baking. Mix just until combined for the best results!
-
Bake in a water bath: Placing your cheesecake in a water bath helps maintain an even temperature while baking, resulting in a creamier texture and reducing the chances of cracks forming on the surface.
-
Cool gradually: Once baked, let your cheesecake cool in the oven with the door slightly ajar. This gradual cooling process prevents sudden temperature changes that can cause cracks.
-
Chill before serving: For the best flavor and texture, refrigerate your cheesecake for at least 4 hours, but overnight is even better! This allows flavors to meld together beautifully.
How to Serve Birthday Cheesecake
Serving your Birthday Cheesecake can be as delightful as making it! Whether it’s for a festive gathering or an intimate celebration, here are some ideas to elevate your presentation.
Garnishes
- Fresh berries: A handful of fresh strawberries, blueberries, or raspberries adds a vibrant touch that complements the rich flavor of the cheesecake.
- Chocolate drizzle: A simple drizzle of melted dark chocolate creates an elegant look and pairs wonderfully with the creamy cheesecake.
- Mint leaves: A few sprigs of fresh mint not only add color but also a refreshing aroma that enhances the overall dessert experience.
Side Dishes
- Fruit salad: A light and refreshing fruit salad made with seasonal fruits provides a nice contrast to the richness of the cheesecake. It’s colorful and nutritious!
- Coffee or tea: Serving hot beverages like coffee or herbal tea alongside your cheesecake can balance its sweetness while providing warmth and comfort.
- Ice cream: A scoop of vanilla or strawberry ice cream can turn each slice into an indulgent treat. The cold ice cream melts slightly against the warm cheesecake for a delicious combination.
- Whipped coconut cream: For a dairy-free alternative, whipped coconut cream offers a luscious topping that pairs beautifully with the flavors of your Birthday Cheesecake.
With these tips and serving suggestions, your Birthday Cheesecake will not only taste divine but also look stunning at any celebration! Enjoy every bite with friends and family—happy baking!
Make Ahead and Storage
This Birthday Cheesecake is perfect for meal prep! You can make it ahead of time, allowing the flavors to develop beautifully. Plus, it stores well, making it an excellent option for busy celebrations.
Storing Leftovers
- Place any leftover cheesecake in an airtight container.
- Store it in the refrigerator for up to 5 days.
- If you have slices, make sure to separate them with parchment paper to prevent sticking.
Freezing
- Wrap the cheesecake tightly in plastic wrap and then in aluminum foil to protect it from freezer burn.
- Freeze for up to 2 months.
- To thaw, place it in the refrigerator overnight before serving.
Reheating
- While cheesecakes are typically served cold or at room temperature, if you prefer a warm slice, microwave on low power for about 10-15 seconds.
- Be careful not to overheat as this can alter the texture.
FAQs
If you have questions about this delicious Birthday Cheesecake, you’re not alone! Here are some common inquiries.
Can I use a different crust for my Birthday Cheesecake?
Absolutely! You can substitute graham cracker crumbs with cookies like Oreos or digestive biscuits for a unique flavor twist.
How do I make my Birthday Cheesecake less dense?
To achieve a lighter texture, try adding an extra egg yolk and reducing the cream cheese slightly. Mixing until just combined will also help keep it fluffy.
What’s the best way to decorate my Birthday Cheesecake?
You can top your cheesecake with whipped cream and additional rainbow jimmies or fresh fruit like strawberries and blueberries for a festive touch!
Can I make this Birthday Cheesecake vegan?
Yes! You can use plant-based cream cheese and replace eggs with flaxseed meal or aquafaba (chickpea water) whisked until frothy.
How long does the Birthday Cheesecake last in the fridge?
Your cheesecake will stay fresh in the refrigerator for up to 5 days when stored properly in an airtight container.
Final Thoughts
This Birthday Cheesecake is not just a dessert; it’s a celebration on a plate! Its creamy texture and vibrant colors will surely bring joy to any gathering. I hope you enjoy making it as much as I did – don’t hesitate to share your results and spread the cheer! Happy baking!
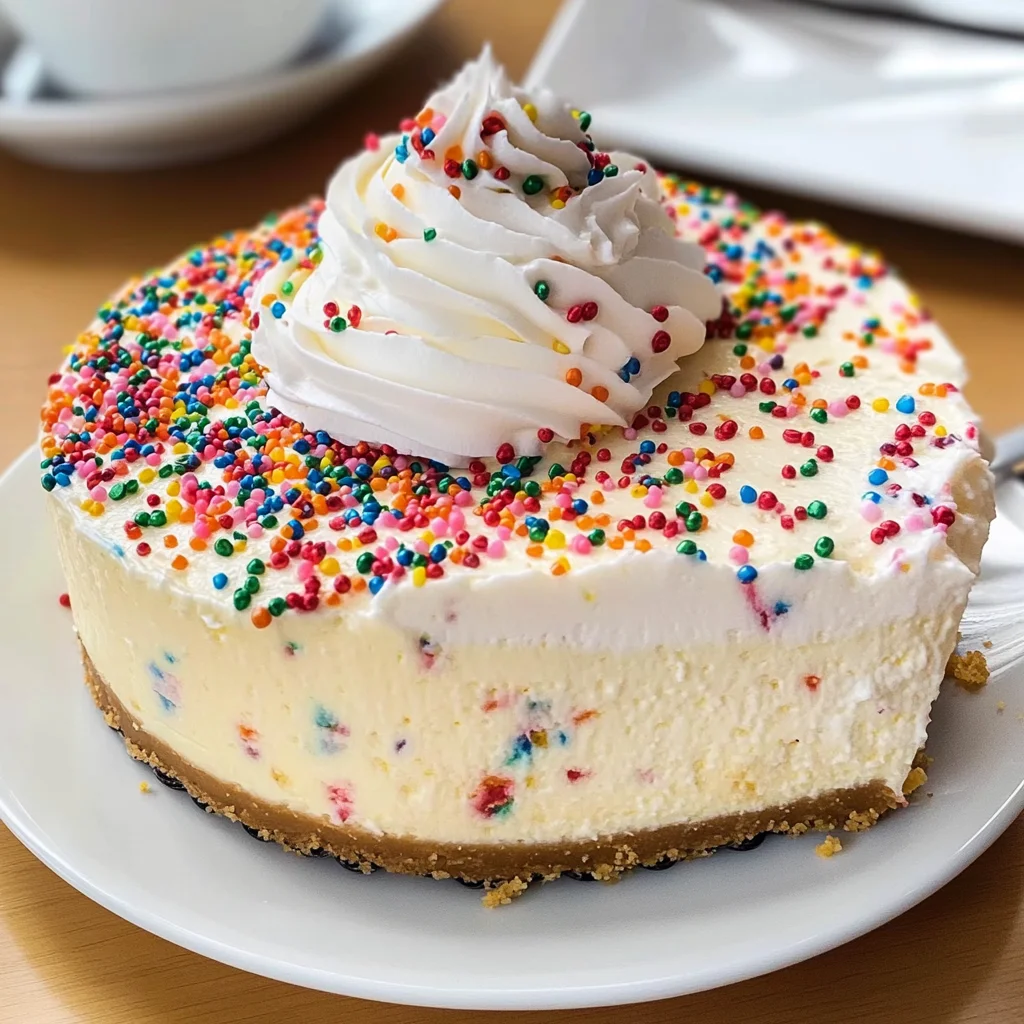
Birthday Cheesecake
Indulge in the joy of celebrations with this delightful Birthday Cheesecake, a creamy masterpiece adorned with vibrant rainbow jimmies. Perfect for birthdays, family gatherings, or any occasion that calls for a sweet treat, this cheesecake is not only delicious but also a feast for the eyes. Its rich texture and easy preparation make it a favorite among bakers of all skill levels. Whether you’re serving it at a grand party or enjoying a slice on a cozy night in, this cheesecake is guaranteed to bring smiles all around!
- Prep Time: 30 minutes
- Cook Time: 60 minutes
- Total Time: 1 hour 30 minutes
- Yield: Serves approximately 12 slices 1x
- Category: Dessert
- Method: Baking
- Cuisine: American
Ingredients
- 1 ½ cups graham cracker crumbs
- 2 tablespoons granulated sugar
- ⅓ cup unsalted butter, melted
- 4 packages cream cheese (8 ounces each), softened
- 1 ¼ cups granulated sugar
- ½ cup sour cream
- 2 teaspoons vanilla extract
- 5 large eggs (room temperature)
- ½ cup rainbow jimmies
- Whipped cream (for topping)
Instructions
- Preheat the oven to 350°F.
- In a bowl, combine graham cracker crumbs, sugar, and melted butter; press into the bottom of a springform pan.
- In another bowl, beat cream cheese until smooth. Gradually add sugar, then sour cream and vanilla; mix well. Add eggs one at a time.
- Fold in rainbow jimmies carefully.
- Pour filling over crust and bake for about an hour until edges are set but center is slightly jiggly.
- Cool at room temperature before refrigerating for at least four hours or overnight.
- Serve chilled with whipped cream and extra sprinkles.
Nutrition
- Serving Size: 1 slice (approximately 100g)
- Calories: 350
- Sugar: 25g
- Sodium: 250mg
- Fat: 24g
- Saturated Fat: 14g
- Unsaturated Fat: 9g
- Trans Fat: 0g
- Carbohydrates: 28g
- Fiber: 1g
- Protein: 5g
- Cholesterol: 95mg