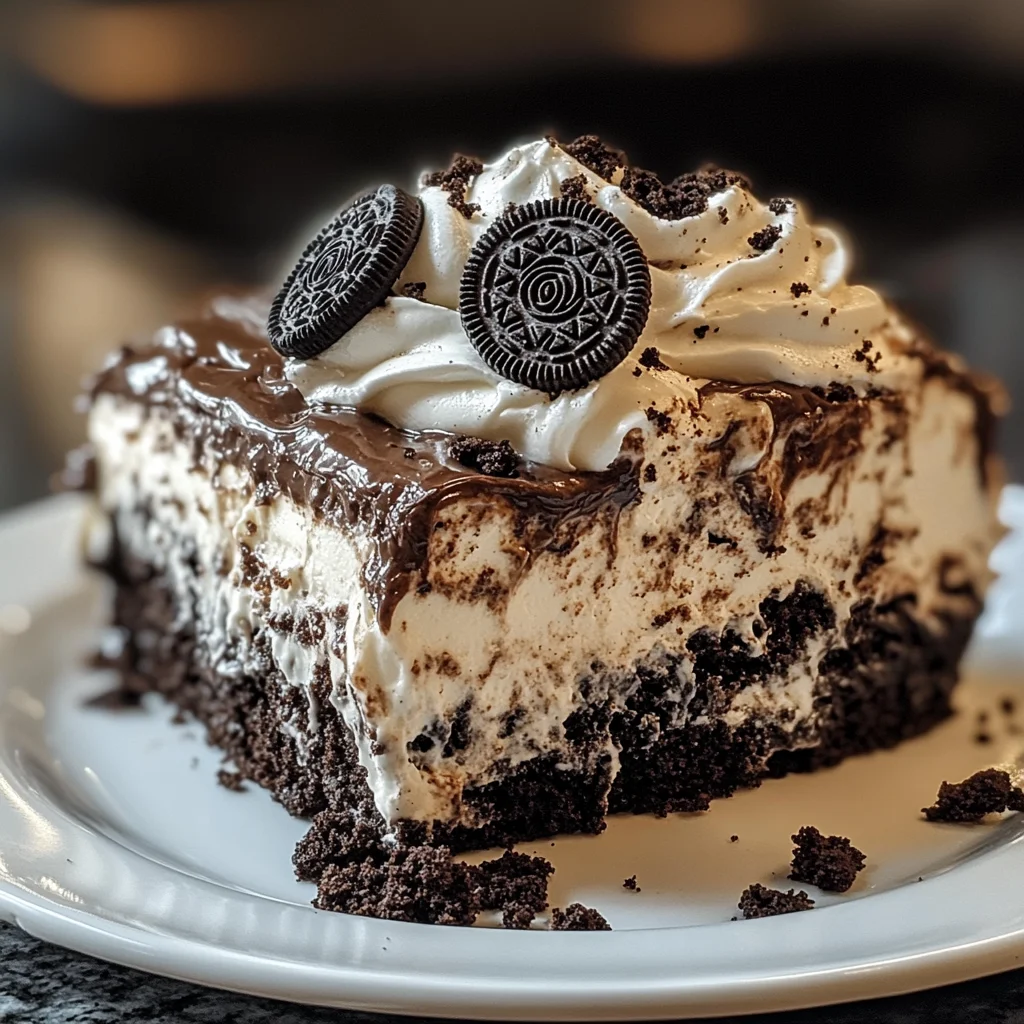
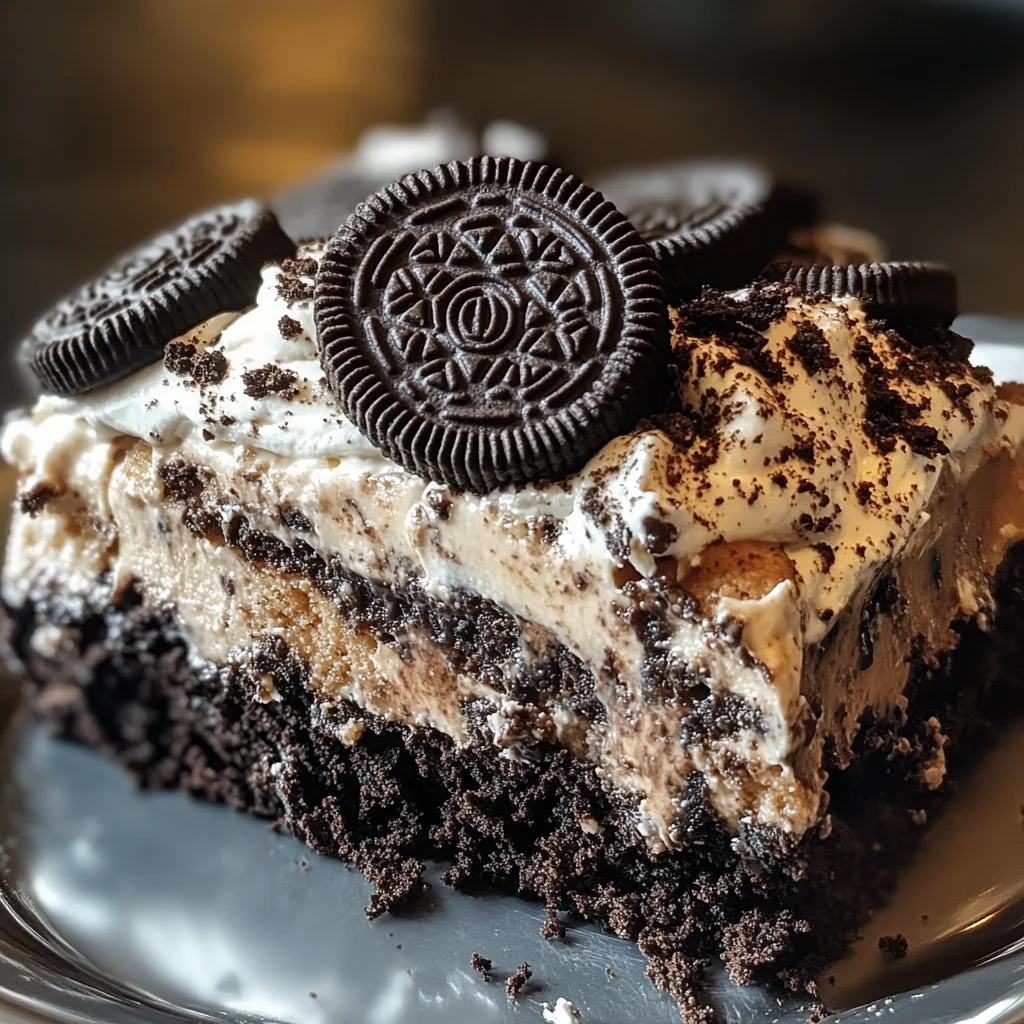
Oreo Dump Cake Recipe
If you’re looking for a dessert that’s as easy to make as it is delicious, then you’ve landed in the right spot with this Oreo Dump Cake Recipe! This delightful treat combines the beloved flavors of Oreo cookies with rich chocolate cake, creating an indulgent dessert that everyone will adore. What makes it even more special is how effortlessly it comes together. Whether you’re hosting a family gathering or just want to impress your friends on a busy weeknight, this recipe guarantees smiles all around.
One of the best aspects of this Oreo Dump Cake is its simplicity. Just a handful of ingredients and a few easy steps are all it takes to whip up this crowd-pleaser. Plus, it’s perfect for any occasion, from potlucks to birthday parties. Trust me; once you try it, you’ll find yourself making it again and again!
Why You’ll Love This Recipe
- Quick and Easy: With only 10 minutes of prep time, you can have this dessert in the oven in no time.
- Family-Friendly: Kids and adults alike can’t resist the combination of Oreos and chocolate!
- Make-Ahead Convenience: This dump cake can be made ahead of time, allowing you to focus on other party preparations.
- Decadent Flavor: The rich layers of chocolate and creamy topping create a delightful blend that satisfies any sweet tooth.
Ingredients You’ll Need
Let’s gather some simple and wholesome ingredients for this delightful dessert! You’ll find everything here is easy to get and sure to please.
- 25 Oreo cookies
- 14 oz can Sweetened Condensed Milk
- 8 oz Whipped Topping (Cool Whip), not frozen
- 15¼ oz Chocolate cake mix
- ½ cup Sweet Salted Butter (sliced)
Variations
One of the great things about the Oreo Dump Cake Recipe is its flexibility! Feel free to experiment with these fun variations:
- Add some crunch: Mix in some chopped nuts or crushed candy bars for an extra layer of texture.
- Switch up the flavor: Try using different flavored whipped toppings like strawberry or vanilla.
- Make it minty: Incorporate mint-flavored Oreos for a refreshing twist.
- Top it off: Serve with fresh berries or a drizzle of chocolate syrup for added flair.
How to Make Oreo Dump Cake Recipe
Step 1: Preheat Your Oven
First things first—preheat your oven to 350°F (175°C). This step ensures that your cake bakes evenly and comes out perfectly golden brown.
Step 2: Prepare the Base
In a 9×13-inch baking dish, crush those delicious Oreo cookies. Spread them evenly across the bottom of the dish. This crunchy layer serves as a fantastic base, adding texture and flavor to your dump cake.
Step 3: Add Sweetness
Now it’s time to pour the sweetened condensed milk evenly over your crushed Oreos. This creamy layer will soak into the cookies as they bake, creating an irresistibly sweet foundation.
Step 4: Spread the Whipped Topping
Dollop the whipped topping (Cool Whip) over the condensed milk layer. Gently spread it out without mixing—it will create a lovely creamy layer that complements the richness of the chocolate cake mix.
Step 5: Sprinkle on Cake Mix
Next, sprinkle the chocolate cake mix evenly on top of your whipped topping layer. Resist the urge to mix! The beauty of this dump cake lies in its layered structure, which results in a delightful combination of flavors when baked.
Step 6: Top with Butter
Slice your sweet salted butter into thin pieces and place them evenly on top of the cake mix. The melting butter will help everything come together beautifully while adding richness as it bakes.
Step 7: Bake
Transfer your baking dish to the preheated oven and bake for 35-40 minutes. Keep an eye on it until the top turns golden brown and looks deliciously cooked through.
Step 8: Cool & Serve
Once baked, allow your dump cake to cool slightly before serving. It’s wonderful warm straight from the oven—and don’t forget that extra whipped topping or a scoop of vanilla ice cream if you want to take it over-the-top delicious!
Enjoy every bite of this scrumptious Oreo Dump Cake; it’s bound to become one of your favorite go-to desserts!
Pro Tips for Making Oreo Dump Cake Recipe
Creating the perfect Oreo Dump Cake is easier than you think! With a few simple tips, you can elevate your dessert game.
-
Use fresh ingredients: Make sure your whipped topping and sweetened condensed milk are fresh for the best flavor and texture. Fresh ingredients make a noticeable difference in taste.
-
Don’t mix the layers: Keeping the layers separate is key to achieving that delightful dump cake effect. This allows each layer to maintain its unique flavor and texture, resulting in a rich, layered dessert.
-
Experiment with flavors: Feel free to add a sprinkle of instant coffee granules or chocolate chips to the layers if you’re feeling adventurous! These additions can enhance the chocolate flavor and create an even more decadent dessert.
-
Adjust baking time based on your oven: Ovens can vary, so start checking your cake around the 30-minute mark. You want the top to be golden brown and set but not overcooked.
-
Serve warm for maximum indulgence: This cake is at its best when served warm, allowing the layers to meld together beautifully. A scoop of ice cream on top will make it even more irresistible!
How to Serve Oreo Dump Cake Recipe
Serving your Oreo Dump Cake can be just as fun as making it! Here are some creative ideas to present this delicious treat at gatherings or family dinners.
Garnishes
- Crushed Oreos: Sprinkle some additional crushed Oreos on top right before serving for a crunchy texture and visual appeal.
- Chocolate syrup drizzle: A drizzle of chocolate syrup adds a sweet touch that complements the flavors perfectly.
- Fresh mint leaves: For a pop of color and freshness, garnish with a few sprigs of mint.
Side Dishes
- Vanilla Ice Cream: A classic pairing, vanilla ice cream adds a creamy contrast to the rich chocolate of the dump cake.
- Fresh Berries: Serve with a side of strawberries or raspberries for a burst of freshness that balances out the sweetness.
- Whipped Cream: A dollop of whipped cream enhances the creaminess of each slice and provides an elegant touch.
- Chocolate Chip Cookies: For cookie lovers, pairing this dessert with soft chocolate chip cookies creates a delightful cookie experience!
With these serving suggestions and pro tips in mind, your Oreo Dump Cake will not only taste fantastic but look beautiful on any table. Enjoy!
Make Ahead and Storage
This Oreo Dump Cake is not only a delightful treat but also perfect for meal prep! You can make it ahead of time, making it an ideal dessert for gatherings or just a sweet indulgence at home.
Storing Leftovers
- Allow the dump cake to cool completely before storing.
- Cover the dish with plastic wrap or aluminum foil.
- Store in the refrigerator for up to 3-4 days.
Freezing
- To freeze, cut the cake into portions and place them in an airtight container or freezer bags.
- Label the containers with the date and type of dessert.
- Freeze for up to 2 months for best quality.
Reheating
- To reheat, remove from the refrigerator or freezer and let it sit at room temperature for about 30 minutes.
- For refrigerated leftovers, heat in the microwave for about 20-30 seconds or until warmed through.
- For frozen portions, thaw overnight in the refrigerator before reheating.
FAQs
Here are some common questions you might have about this delicious recipe:
Can I use different flavors of cookies in this Oreo Dump Cake Recipe?
Absolutely! While Oreos give this dump cake its signature flavor, feel free to experiment with other sandwich cookies like chocolate mint or peanut butter varieties for a fun twist.
How do I ensure my Oreo Dump Cake Recipe turns out perfectly?
To achieve that perfect texture, make sure to layer your ingredients carefully and avoid mixing them. Also, keep an eye on the baking time; every oven is slightly different!
Can I make this Oreo Dump Cake Recipe gluten-free?
Yes! Simply use gluten-free Oreo cookies and a gluten-free chocolate cake mix. It’s a great way to enjoy this dessert without worrying about gluten.
How long will leftovers last after making my Oreo Dump Cake Recipe?
Leftovers can be stored in the refrigerator for up to 3-4 days. Just remember to keep it covered to maintain freshness!
Final Thoughts
I hope you find joy in making this scrumptious Oreo Dump Cake! It’s a simple yet decadent dessert that brings smiles all around. Whether you’re hosting a gathering or enjoying a cozy night in, this recipe is sure to impress. Give it a try, and enjoy every delicious bite!
Oreo Dump Cake Recipe

Indulge in the delightful experience of making this easy Oreo Dump Cake Recipe, a crowd-pleasing dessert that combines the rich flavors of chocolate cake and classic Oreo cookies. Perfect for any occasion, this dessert is incredibly simple to whip up with just a handful of ingredients. With minimal prep time and no complicated mixing required, you can have this delicious treat in the oven in just 10 minutes. Whether you’re hosting a family gathering or surprising your friends on a busy weeknight, this layered delight guarantees smiles all around. Serve it warm with a scoop of vanilla ice cream or fresh berries for an extra special touch!
- Prep Time: 10 minutes
- Cook Time: 35-40 minutes
- Total Time: 0 hours
- Yield: Serves approximately 12 people 1x
- Category: Dessert
- Method: Baking
- Cuisine: American
Ingredients
- 25 Oreo cookies
- 14 oz can Sweetened Condensed Milk
- 8 oz Whipped Topping (Cool Whip), not frozen
- 15¼ oz Chocolate cake mix
- ½ cup Sweet Salted Butter (sliced)
Instructions
- Preheat your oven to 350°F (175°C).
- In a 9×13-inch baking dish, crush the Oreo cookies and spread them evenly across the bottom.
- Pour the sweetened condensed milk over the crushed Oreos.
- Spread the whipped topping over the condensed milk layer.
- Evenly sprinkle the chocolate cake mix on top without mixing.
- Place slices of butter evenly over the cake mix.
- Bake for 35-40 minutes until golden brown and cooked through.
- Allow to cool slightly before serving.
Nutrition
- Serving Size: 1 serving
- Calories: 325
- Sugar: 26g
- Sodium: 150mg
- Fat: 17g
- Saturated Fat: 10g
- Unsaturated Fat: 7g
- Trans Fat: 0g
- Carbohydrates: 40g
- Fiber: 1g
- Protein: 4g
- Cholesterol: 30mg